Write Better Replies with AI
 Converge Team
AI in Converge adapts to what you're doing. Empty input? It suggests a reply based on the conversation. Short draft? It polishes your grammar and tone. Longer draft? It restructures everything into a professional response. And when a customer writes in another language, translation is one click away. In the next 12 minutes, you'll learn how each mode works and how to fine-tune the output to match your brand.
Who can do what? All team members can use AI suggestions, polish, transform, and translation. Configuring AI settings and API keys requires Owner Only permissions. AI settings are accessed via the Replies icon in the sidebar, then the AI tab.
Get AI-Generated Reply Suggestions
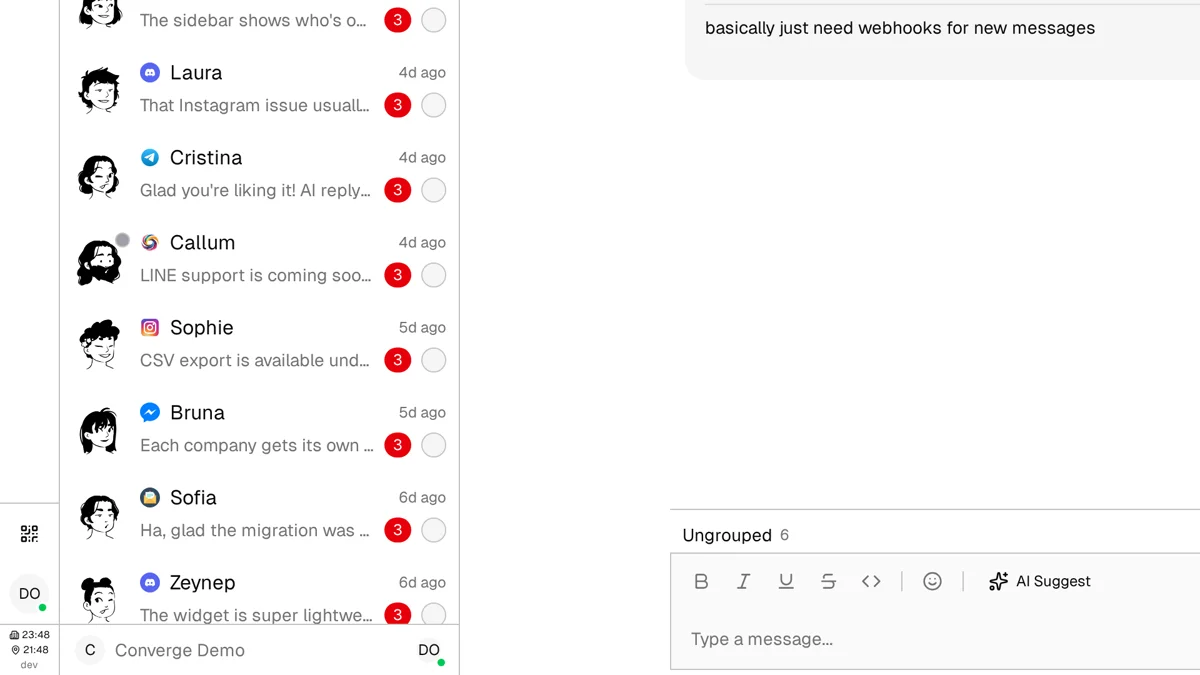
When your message input is empty and the last message is from the customer, AI can draft a reply for you. It reads the last 10 messages in the conversation and generates a contextual response that matches your company's tone settings.
How to get a suggestion
-
1
Open a conversation with a customer message
The AI suggest button only appears when the last message is from the customer and your input field is empty.
-
2
Click the sparkles icon or press the shortcut
Look for the sparkles icon (✦) in the message toolbar. Or use the keyboard shortcut: Cmd+Shift+S on Mac, Ctrl+Shift+S on Windows/Linux.
-
3
Review and edit the suggestion
The AI-generated text fills your input field. Read it, adjust anything that doesn't sound right, and send when ready.
Quick Reply matching
When generating a suggestion, AI also checks your Quick Reply library. If one of your existing templates is a good match for the customer's question, it's suggested instead of generating new text. This keeps responses consistent with your pre-approved messaging.
Caching: Suggestions are cached for 5 minutes per conversation. If you open the same conversation twice within that window, you'll get the same suggestion without a new API call. The cache resets when a new message arrives.
Polish & Transform Your Drafts
Already started typing? AI switches to editing mode. The icon changes from sparkles to a wand, and the behavior depends on how much you've written.
Polish Mode
When your draft is ≤100 characters
Light touch improvements. Fixes grammar, spelling, and minor tone issues. Your structure and length stay the same. Think of it as a quick proofread before hitting send.
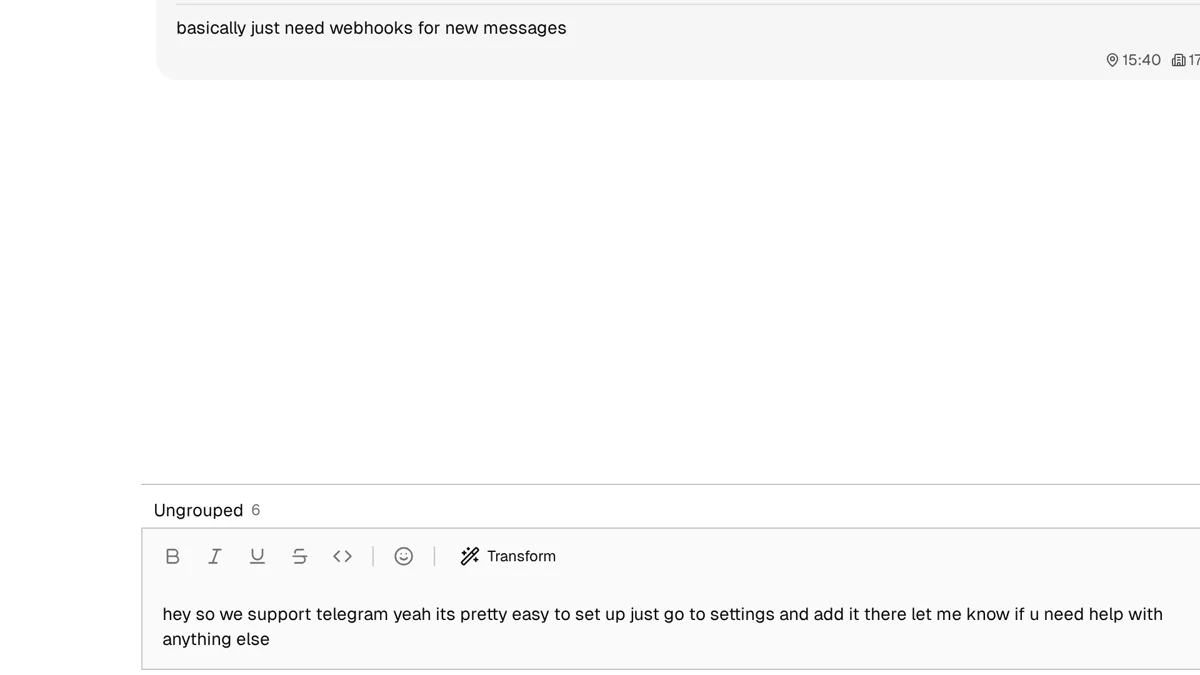
Transform Mode
When your draft is >100 characters
Full restructure into professional customer support format. Adds a proper greeting, organizes your content into clear sections, and appends your company sign-off. Your rough notes become a polished response.
Using Polish or Transform
-
1
Type your draft in the message input
Write whatever comes to mind. The AI will handle the polishing or restructuring.
-
2
Click the wand icon
The wand icon replaces the sparkles when text is present. The tooltip shows "Polish" for short text or "Transform" for longer text.
-
3
Review the result
The processed text replaces your draft. Check that it captures your intent, then send.
Translate Messages with Context
When a customer writes in a different language, a translate button appears next to their message. Translation is context-aware — it uses your company name and conversation history to produce accurate, natural translations across 18 supported languages.
How translation works
Inbound messages
When a customer message is in a different language, a translate button appears. Click it to see the translation inline, below the original text. The original message is always preserved.
Outbound messages
Type your reply in your language, then click the translate button on the send bar. Preview the translation before sending. A flag indicator on the send button shows the target language.
Translation works independently from suggest, polish, and transform. You can generate a suggestion with AI, then translate it before sending — the features compose naturally.
Configure AI Tone & Style
Owner OnlyAI output follows your company's style settings. Configure these once and every suggestion, polish, and transform will match your brand voice.
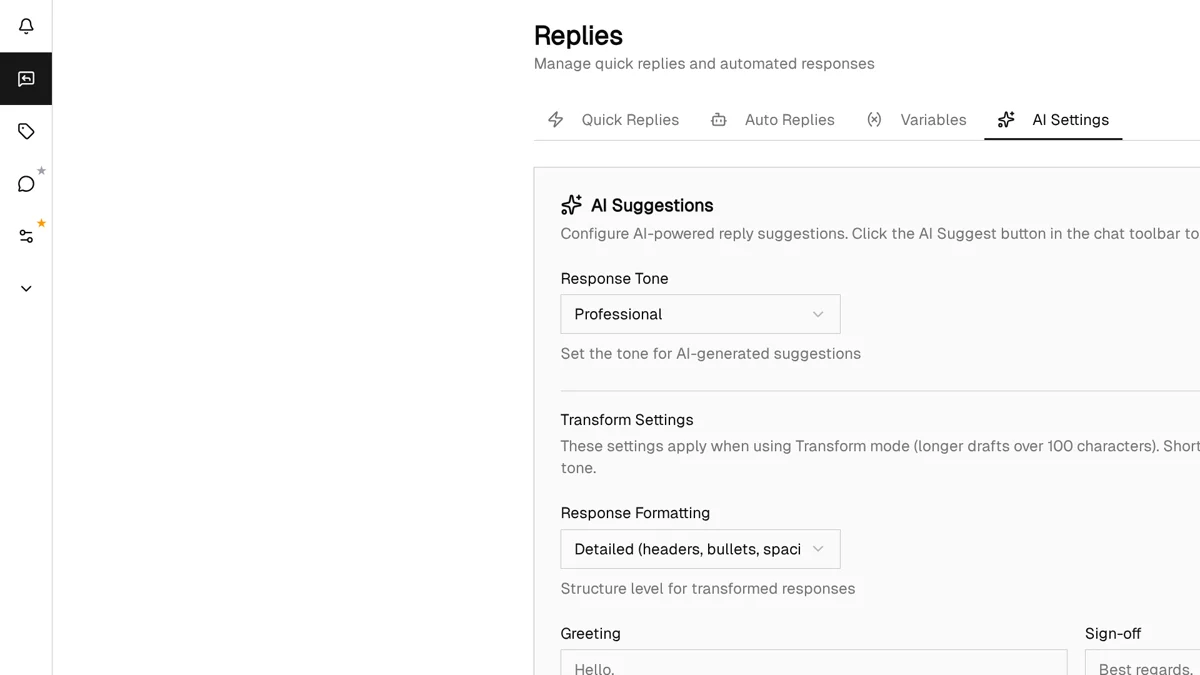
Finding AI settings
Click the Replies icon in the sidebar, then select the AI tab (the fourth tab, after Quick Replies, Auto Replies, and Variables).
Available settings
| Setting | Options | What it affects |
|---|---|---|
| Tone | Professional, Friendly, Casual | Overall voice of AI responses |
| Formatting | Minimal, Detailed | Structure depth in Transform mode |
| Greeting | Custom text (max 50 chars) | Opening line in Transform mode (e.g., "Hello,") |
| Sign-off | Custom text (max 50 chars) | Closing line in Transform mode (e.g., "Best regards,") |
| Custom Instructions | Free text (max 200 chars) | Extra style guidance for all AI modes |
Bring Your Own API Key
Owner OnlyBy default, AI features use a shared API key with standard rate limits. If you need higher throughput, want direct cost control, or have compliance requirements, you can provide your own API key.
Setting up BYOK
-
1
Get an API key from any OpenAI-compatible provider
Converge works with any provider that exposes an OpenAI-compatible
/chat/completionsendpoint. Examples: OpenAI, OpenRouter, Cerebras, Groq, Together AI, or a self-hosted model. -
2
Open AI Settings
Navigate to RepliesAI tab and scroll to the AI Provider section.
-
3
Configure your endpoint
Set the Base URL to your provider's API base (e.g.,
https://api.openai.com/v1— without/chat/completions). Set the Model to the model identifier your provider uses. Enter your API Key. -
4
Save
Your key is encrypted at rest. All AI requests will now use your provider instead of the shared one.
Security: API keys are encrypted with per-company encryption keys before storage. They are never logged, never sent to the frontend, and are only decrypted server-side when making AI requests.
Best Practices & Tips
Always review before sending
AI output is a starting point, not a final answer. Read every suggestion and verify facts, links, and promises before hitting send. Your customers are talking to you, not to an AI.
Build your Quick Reply library
AI matches against your Quick Replies before generating new text. A larger library means more consistent, pre-approved responses and less reliance on generated content.
Use the right mode for the job
Quick grammar fix? Polish. Rough notes into a full response? Transform. No idea what to say? Suggest. Each mode is optimized for its use case.
Set Custom Instructions to reduce edits
If your agents keep editing the same things out of AI responses, add a Custom Instruction. "Never mention competitor products" or "Always include our refund policy link" saves time on every interaction.
Rate limiting is per company
AI requests are throttled to 1 per 5 seconds per company to manage costs. If a request is in progress, wait for it to complete. BYOK users get independent rate limits based on their API plan.
What's Next?
You're now equipped to use AI across your conversations. Here are some related features to explore:
- Replies Guide — Build the Quick Reply library that AI matches against
- Inbox Guide — Master conversation management where you'll use AI most
Need more help?
Our support team is here for you. Click the chat widget in the bottom right corner to start a conversation.
We typically respond within minutes during business hours.